Set Up a VPN on Your Router in 2024: A Step-by-Step Guide
Anúncios
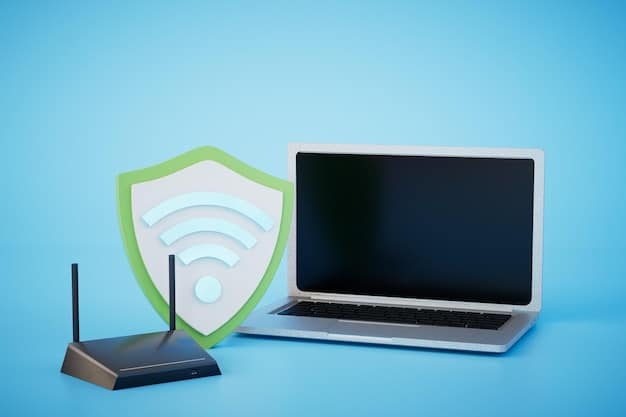
Setting up a VPN on your router enhances online privacy by encrypting internet traffic for all connected devices, providing a secure network environment through a single, protected access point.
Ready to safeguard your online activities? How to Set Up a VPN on Your Router to Protect Your Online Privacy in 2024: A Step-by-Step Guide will show you how to extend VPN protection to every device connected to your home network through a single, secure setup.
Anúncios
Why set up a VPN on your router
Setting up a VPN on your router might seem like a technical hassle, but the privacy and security benefits are well worth the effort. A VPN on your router encrypts all internet traffic passing through it, protecting every device connected to your network.
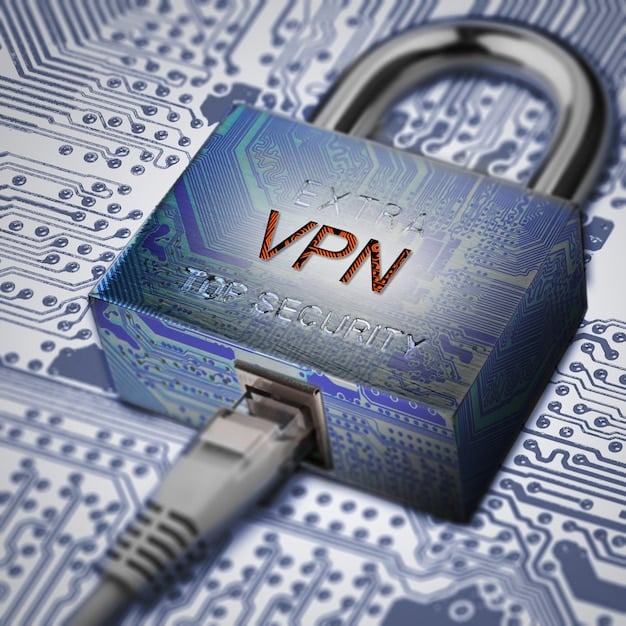
A VPN (Virtual Private Network) creates a secure, encrypted connection between your devices and the internet. Instead of your data traveling through your ISP’s servers unprotected, it passes through a VPN server, masking your IP address and location.
Anúncios
Enhanced Security for All Devices
One of the primary advantages of installing a VPN on your router is the holistic protection it offers. Once configured, every device connected to your Wi-Fi network automatically benefits from the VPN’s encryption. This includes devices that don’t natively support VPN software, such as smart TVs, gaming consoles, and IoT devices.
Protecting these devices is crucial because they often have vulnerabilities that cybercriminals can exploit. By securing your router with a VPN, you create a comprehensive security shield for your entire network, minimizing the risk of breaches and data theft.
Simplified VPN Management
Managing individual VPN connections on multiple devices can be cumbersome. Setting up a VPN on your router eliminates this hassle. Instead of installing and configuring VPN software on each device, you manage a single VPN connection at the router level. This streamlines your security setup and ensures consistent protection across your entire network.
- Centralized control for all connected devices.
- Simplified setup compared to individual device configurations.
- Automatic protection for new devices connecting to your network.
Setting up a VPN on your router is a smart move for anybody looking to increase the level of protection that the devices on their network have. It also provides a single point of management for the VPN saving you a lot of time.
Selecting the right VPN provider
Choosing the right VPN provider is a critical step in securing your online privacy. Not all VPNs are created equal; factors like server locations, encryption protocols, speed, and privacy policies vary significantly.
A reliable VPN provider will offer robust encryption, a wide range of server locations, fast speeds, and a strict no-logs policy.
Factors to Consider
When selecting a VPN provider, several factors should be taken into account to ensure the highest level of security and performance. Start by reviewing the VPN’s encryption protocols. Look for providers that offer AES-256 encryption, which is considered the industry standard for securing data.
Also, consider the number and locations of the VPN provider’s servers. A larger number of servers in diverse locations can improve connection speeds and provide more options for bypassing geo-restrictions. Finally, carefully examine the VPN provider’s privacy policy to ensure they don’t log your browsing activity or personal information.
Top VPN Providers for Routers
Several VPN providers are known for their compatibility with routers and their commitment to privacy and security. Some popular options include ExpressVPN, NordVPN, and Surfshark. These providers offer detailed setup guides and dedicated router apps, making the configuration process much easier.
- ExpressVPN: Known for its fast speeds and user-friendly router app.
- NordVPN: Offers a large selection of servers and advanced security features.
- Surfshark: Provides unlimited device connections and affordable pricing.
Choosing a VPN provider carefully is essential for ensuring the security and reliability of your VPN connection. By considering factors like encryption, server locations, and privacy policies, you can select a provider that meets your specific needs and provides the best possible protection for your online activities. Setting up a VPN from one of these providers is simple.
Checking your router compatibility
Before you begin setting up a VPN on your router, it’s essential to verify that your router is compatible with VPN connections. Most modern routers support VPN functionality, but older models may not have the necessary hardware or firmware.
Checking your router’s compatibility will save you time and frustration. If your router isn’t compatible, you’ll need to upgrade to a newer model or consider flashing custom firmware.
How to Check Compatibility
The easiest way to check your router’s VPN compatibility is by consulting its user manual or the manufacturer’s website. Look for information on VPN support, specifically mentioning protocols like OpenVPN, PPTP, or L2TP/IPsec. If your router supports these protocols, it’s likely compatible with VPN connections.
Another method is to access your router’s configuration interface through a web browser. Log in using your router’s IP address (usually found in the user manual or on the router itself) and navigate to the security or VPN settings. If you see options for configuring VPN connections, your router is compatible.
- Consult your router’s user manual for VPN support information.
- Check your router’s configuration interface for VPN settings.
- Visit the manufacturer’s website for compatibility details.
Checking the compatibility of your router is the first step in setting up the VPN. If your current router is not up to specifications, purchasing one that is is a very worthwhile investment.
Flashing your router with custom firmware (DD-WRT/Tomato)
If your router doesn’t natively support VPN connections, you can still enable VPN functionality by flashing it with custom firmware like DD-WRT or Tomato. These open-source firmware options replace your router’s original software and provide advanced features, including VPN support.
Custom firmware unlocks new possibilities for your router. However, flashing your router carries a risk of bricking it if not done correctly, so proceed with caution.
Understanding the Process
Flashing your router involves downloading the appropriate custom firmware file and using your router’s configuration interface to upload the new firmware. The process can vary depending on your router model and the specific firmware you’re using.
Before you begin, it’s essential to research your router model and the firmware you plan to install. Follow the instructions provided by the firmware developer carefully and ensure you have a stable power connection during the flashing process. A power interruption during flashing can render your router unusable.
It is very important to proceed with caution when performing steps like this. If you are at all unsure of your capability to do this, consult a professional as any problems can render the device useless forever.

Configuring your router for VPN
Once you’ve verified your router’s compatibility or flashed it with custom firmware, the next step is to configure it for VPN connections. This involves logging into your router’s configuration interface and entering the VPN settings provided by your VPN provider.
Configuring your router correctly ensures that all your internet traffic is routed through the VPN server.
Accessing Your Router’s Configuration Interface
To access your router’s configuration interface, open a web browser and enter your router’s IP address in the address bar. The IP address is typically found in your router’s user manual or on the router itself. If you’re unsure, you can use the command prompt (Windows) or terminal (macOS) to find your default gateway, which is usually your router’s IP address.
Once you’ve entered the IP address, you’ll be prompted to enter your router’s username and password. If you haven’t changed these credentials, refer to your router’s user manual for the default username and password. After logging in, you’ll be presented with your router’s configuration interface.
Entering VPN Settings
Navigate to the VPN settings section of your router’s configuration interface. The exact location of these settings can vary depending on your router model and firmware. Look for options such as VPN, Security, or Advanced Settings.
Select the appropriate VPN protocol (usually OpenVPN) and enter the VPN server address, username, and password provided by your VPN provider. You may also need to upload a configuration file (.ovpn) or CA certificate, depending on your VPN provider’s instructions. Save the settings and enable the VPN connection.
- Enter your router’s IP address in a web browser to access the configuration interface.
- Navigate to the VPN settings section.
- Enter the VPN server address, username, and password provided by your VPN provider.
It is important to ensure that you enter the details correctly especially regarding username and password to ensure that the VPN functions correctly.
Testing and troubleshooting your VPN connection
After configuring your router for VPN, it’s crucial to test the connection to ensure it’s working correctly. A successful VPN connection will encrypt your internet traffic and mask your IP address, protecting your online privacy.
Testing your VPN connection helps identify any configuration issues.
How to Test Your VPN Connection
The simplest way to test your VPN connection is by visiting a website that displays your IP address, such as WhatIsMyIP.com. Before enabling the VPN on your router, note your IP address. Then, enable the VPN and refresh the page. If the IP address has changed to one associated with your VPN server, your connection is working correctly.
You can also perform a DNS leak test to ensure your DNS queries are being routed through the VPN server. Websites like DNSLeakTest.com can help you identify any DNS leaks. If your DNS queries are still pointing to your ISP’s servers, there may be a configuration issue.
Following these tests ensures that the VPN is functioning correctly and is protecting all of the data and activity through your network.
| Key Point | Brief Description |
|---|---|
| 🛡️ Router VPN Benefit | Protects all connected devices through a single, secure connection. |
| ✅ Router Compatibility | Ensure your router supports VPN or consider flashing custom firmware. |
| ⚙️ VPN Configuration | Access router settings, enter VPN details (server, username, password). |
| 🌐 Connection Test | Verify IP address change and DNS settings to confirm VPN is working. |
Frequently Asked Questions
▼
Setting up a VPN on your router secures all devices connected to your home network, improving security and overall privacy. It also streamlines VPN management through one access point.
▼
Check your router’s user manual or the manufacturer’s website for VPN support information. Also, look for VPN settings in your router’s configuration through the web browser.
▼
Not all VPN providers are compatible with all routers. Choose a provider known for their router compatibility and ease-of-setup, such as ExpressVPN, NordVPN, or Surfshark.
▼
Flashing involves installing custom firmware like DD-WRT or Tomato on your router to unlock advanced features, including VPN support. It’s vital for routers that don’t natively support VPNs.
▼
Visit a website such as WhatIsMyIP.com before and after enabling the VPN to ensure your IP address changes. A DNS leak test can also verify that your DNS queries are secure.
Conclusion
As you can see, setting up a VPN on your router is an effective way to protect your online privacy. By choosing the right VPN provider, checking your router’s compatibility, and following the configuration steps carefully, you can secure your entire network in 2024.


")


